Sync Your Content Feed
A Content Feed is a file that contains your content catalog (all your articles, with article metadata). It powers content recommendations, behavioral targeting based on article properties, and more.
You can have one Content Feed for each Dynamic Yield media site. Use the following steps to create, upload, and sync a Content Feed to Dynamic Yield.
Create a content feed file
Before you can upload and sync a Content Feed to Dynamic Yield, make sure your feed file complies with size, format, and content requirements.
Content Feeds can be in CSV, JSON, or XML format. However, if the feed contains more than 200,000 items it must be in CSV format. It can be stored in any URL or local folder. Note that XML files require parser functions so the feed can be converted into an array inside a JSON.
Content feed structure
The content feed must include the basic information about your articles (ID, title, URL, publish time, post type, and its categories). You can see the list of mandatory attributes in the following table, with detailed instructions (format, limitations, and so on):
| Column (case sensitive) | Description | Format |
|---|---|---|
| id | Post ID | String |
| title | Post title | String |
| url | URL that points to the post | URL, string representation |
| publish_time | Time the post was published | Float |
| post_type | Type of post | Sting |
| categories | The categories to which the post belongs | Strings, separated by pipes Sorted from the most general to the most specific |
If your feed source has this information, but names are different, or this information exists in 2 separate feeds, you can use a parser function when syncing the feed to adapt it to the source as long as your feed has less than 200,000 items.
Custom columns
You can add to the feed up to 30 additional columns that describe your articles. Use these for targeting (say, if you add "subject", you can use it to target users who enjoy reading about a particular subject, such as science fiction), affinity scores (for example, include subject affinity in the affinity recommendation algorithm), or set different values for different locales.
Guidelines:
- Custom column values must be strings, up to 1,000 characters, with no special characters.
- Custom column names can't start with '_id'.
- You can't have a custom column name 'sku'. If you include a column with this name, the feed is considered invalid.
- After you add a column, you can't remove it. You can stop using it or return empty values, but the column must be included in any future sync.
Multi-language support
To support multiple languages, you can specify different values for different languages for any field.
See Multi-Language Support for Feeds to learn how.
Create and sync a content feed
If your feed file contains more than 20,000 item, contact your account manager to enable the file upload.
- Go to Assets › Data Feeds. Note that you can create only one content feed for each account.
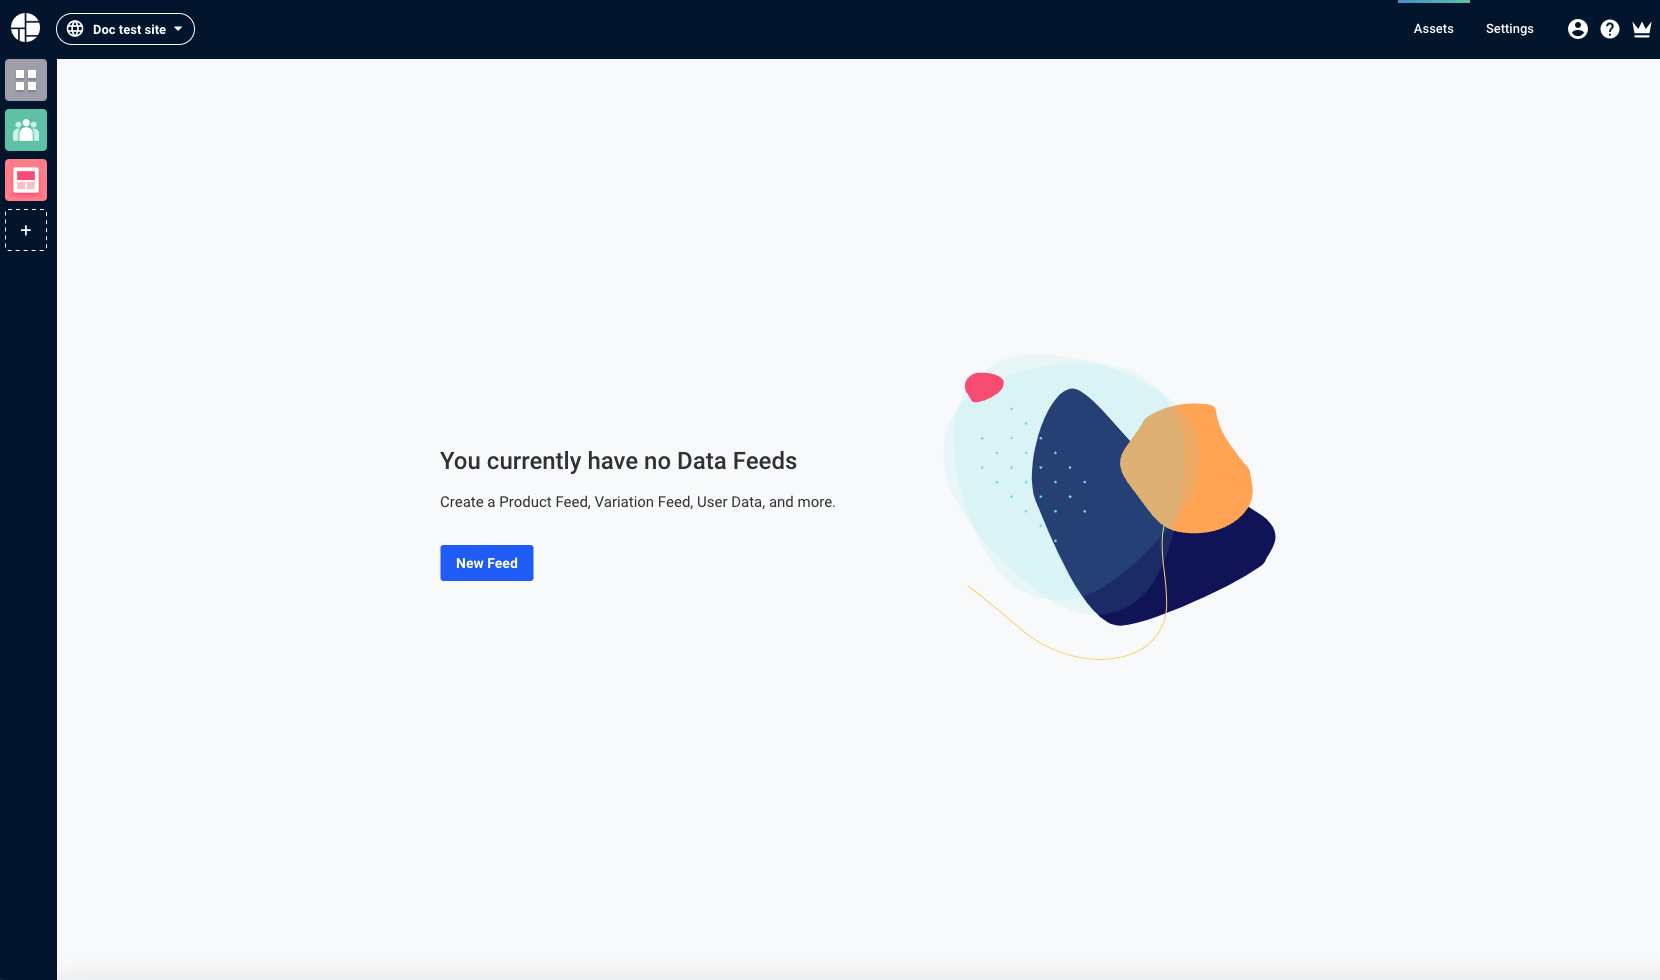
- If you have no data feeds, start here, and click New Feed:

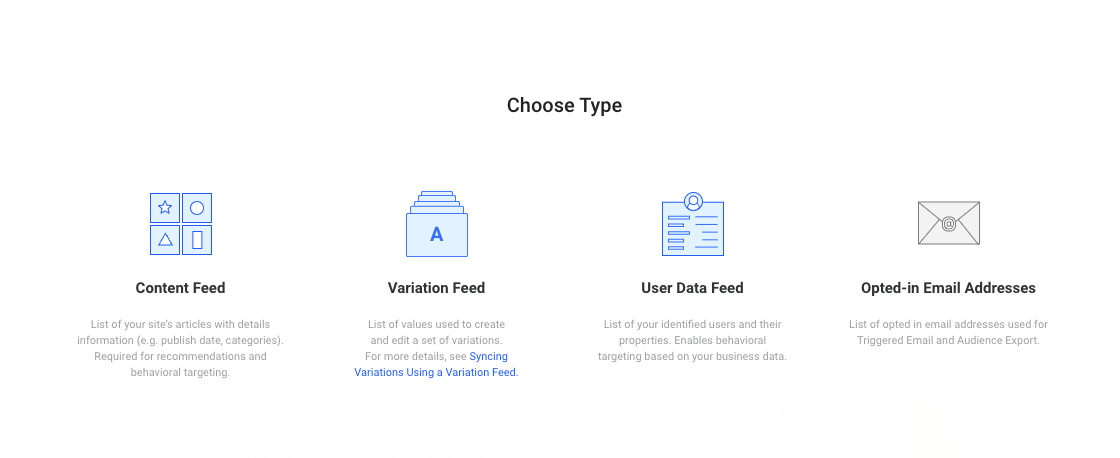
And then select Content Feed:

If you already have other feeds, on the Data Feeds page, click Create New and then select Content Feed from the dropdown.
-
Specify a feed name, and add notes or labels if desired.
-
Specify the feed source by uploading the feed file or specifying a URL linking to a location where the file is stored. If you are using HTTP authentication, add the username and password to the feed URL as follows http://user:password@url.
You can combine multiple files or sources into one feed. Click Add Another Source to specify more than one file.

- Optional: Use a parser function to control how two feed files are merged, or to modify a feed file to suit the requirements for uploading. Expand the following text to learn more:
Parse the source file details
Use a parser function to merge 2 feeds, or to modify a feed file that doesn't meet the guidelines, or to perform any other manipulation, duplication, or renaming of values and fields.
Parser functions are required for XML feeds so the feed can be converted into an array inside a JSON.
To add a parser function, go to Advanced Settings › Parser Function and enter your code.
Example: Parse an XML file
function parser(data){
 var products = data.items[0].item;
 return products.map(function(item){
 var newFeedRow = {};
 for(var column in item){
 newFeedRow[column] = item[column][0];
 }
 return newFeedRow;
 });
}
Example: Merge two feed files
function parse(feed1, feed2) {
  var combinedFeeds =  feed1.concat(feed2);
  return combinedFeeds;
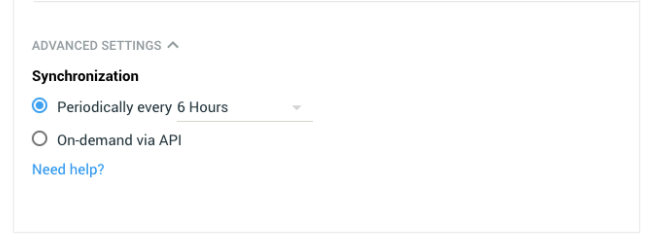
}- In Advanced Settings, you can set how often to sync your feed, or select to sync it on demand via API.

Periodic sync
- By default, the product feed syncs with the source file every 24 hours.
- If you sync the file via S3 or SFTP, Experience OS checks the bucket for a new file six times a day.
- If you just uploaded a file to the bucket, you can also click Sync Now to force the initial sync.
Sync via API
Alternatively, you can [use an API to update the feed]() on demand. This option enables you to add, delete, or modify entire rows or values in your data feed and sync it more quickly. Contact your account manager for more details.
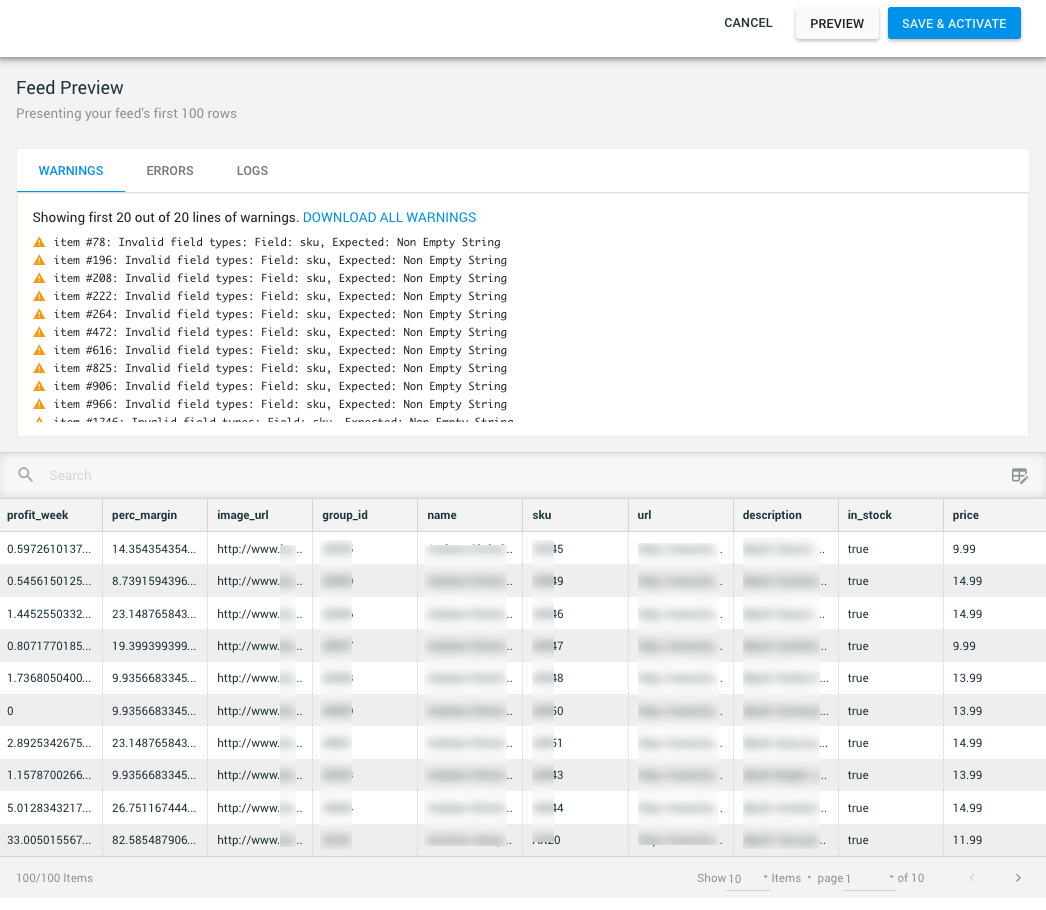
- Click Preview to view up to 100 entries of your feed, including any errors or warnings. Click Save and Activate to proceed or Cancel to go back.

The length of the sync process depends on how many items are in your feed. It usually takes only a few minutes for feeds with fewer than 250,000 items. For larger feeds, it typically takes about 30 minutes for every 500,000 items in your feed. If the sync time is an issue, consider using the API method to update the feed on demand.
Validate the sync status
You can verify that your feed is syncing successfully at any time.
- Go to Assets › Data Feeds.
- In the Last Sync Attempt column, you should see a Date Feed Synced icon
 and a recent date. If the icon indicates an error or warning, download the log for more details.
 - In the Actions column, click the View icon
 . Validate that all required columns and any custom columns you have added exist and have the correct data.
Updated 19 days ago