Targeting
Audience-Based Targeting
Let's put our brand new audience to use:
-
Go back to the Homepage Banner campaign to edit it.
-
Hover over the round (+) icon located above the Default Experience. The icon would grow and reveal the option to create a new targeted experience, which will have a higher precedence than the existing default experience.
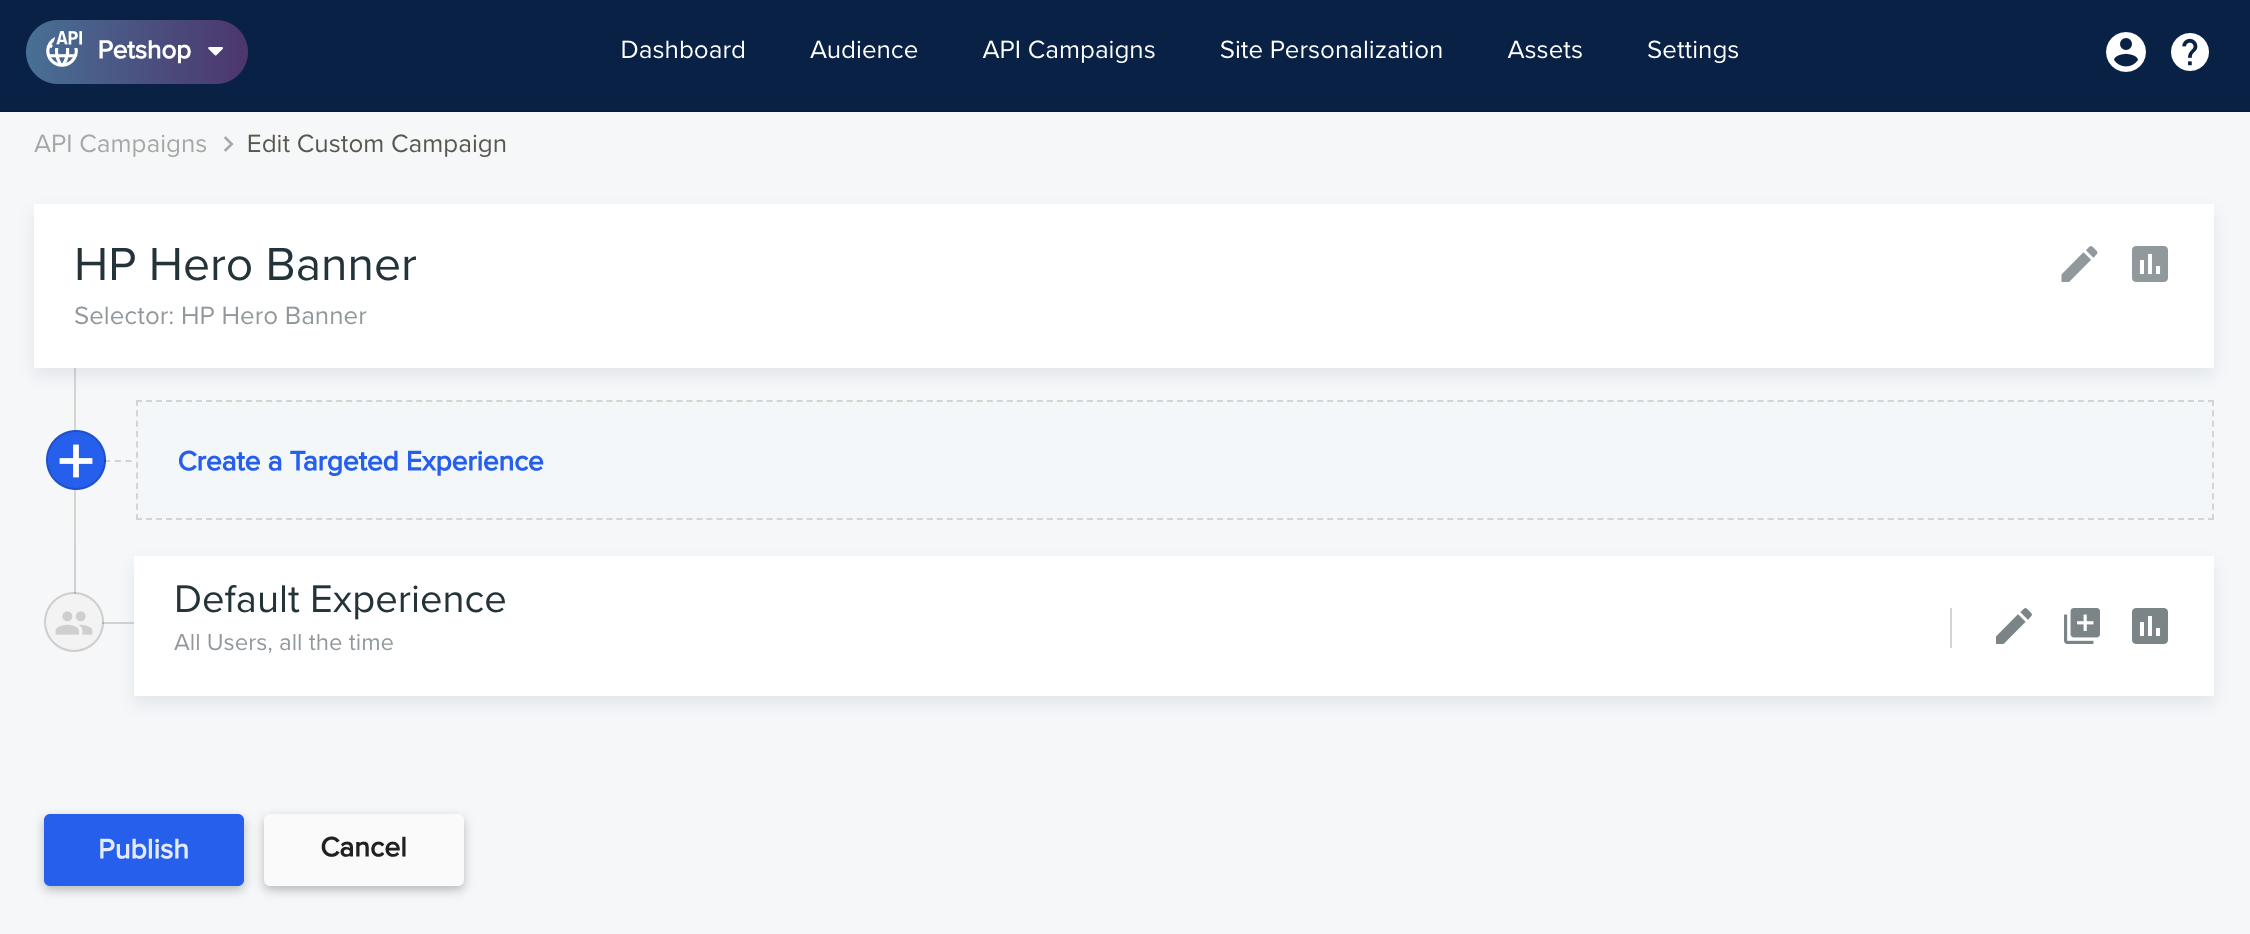
-
Give this new experience a meaningful name, and set the appropriate targeting condition (Audience belongs to...), as seen below:
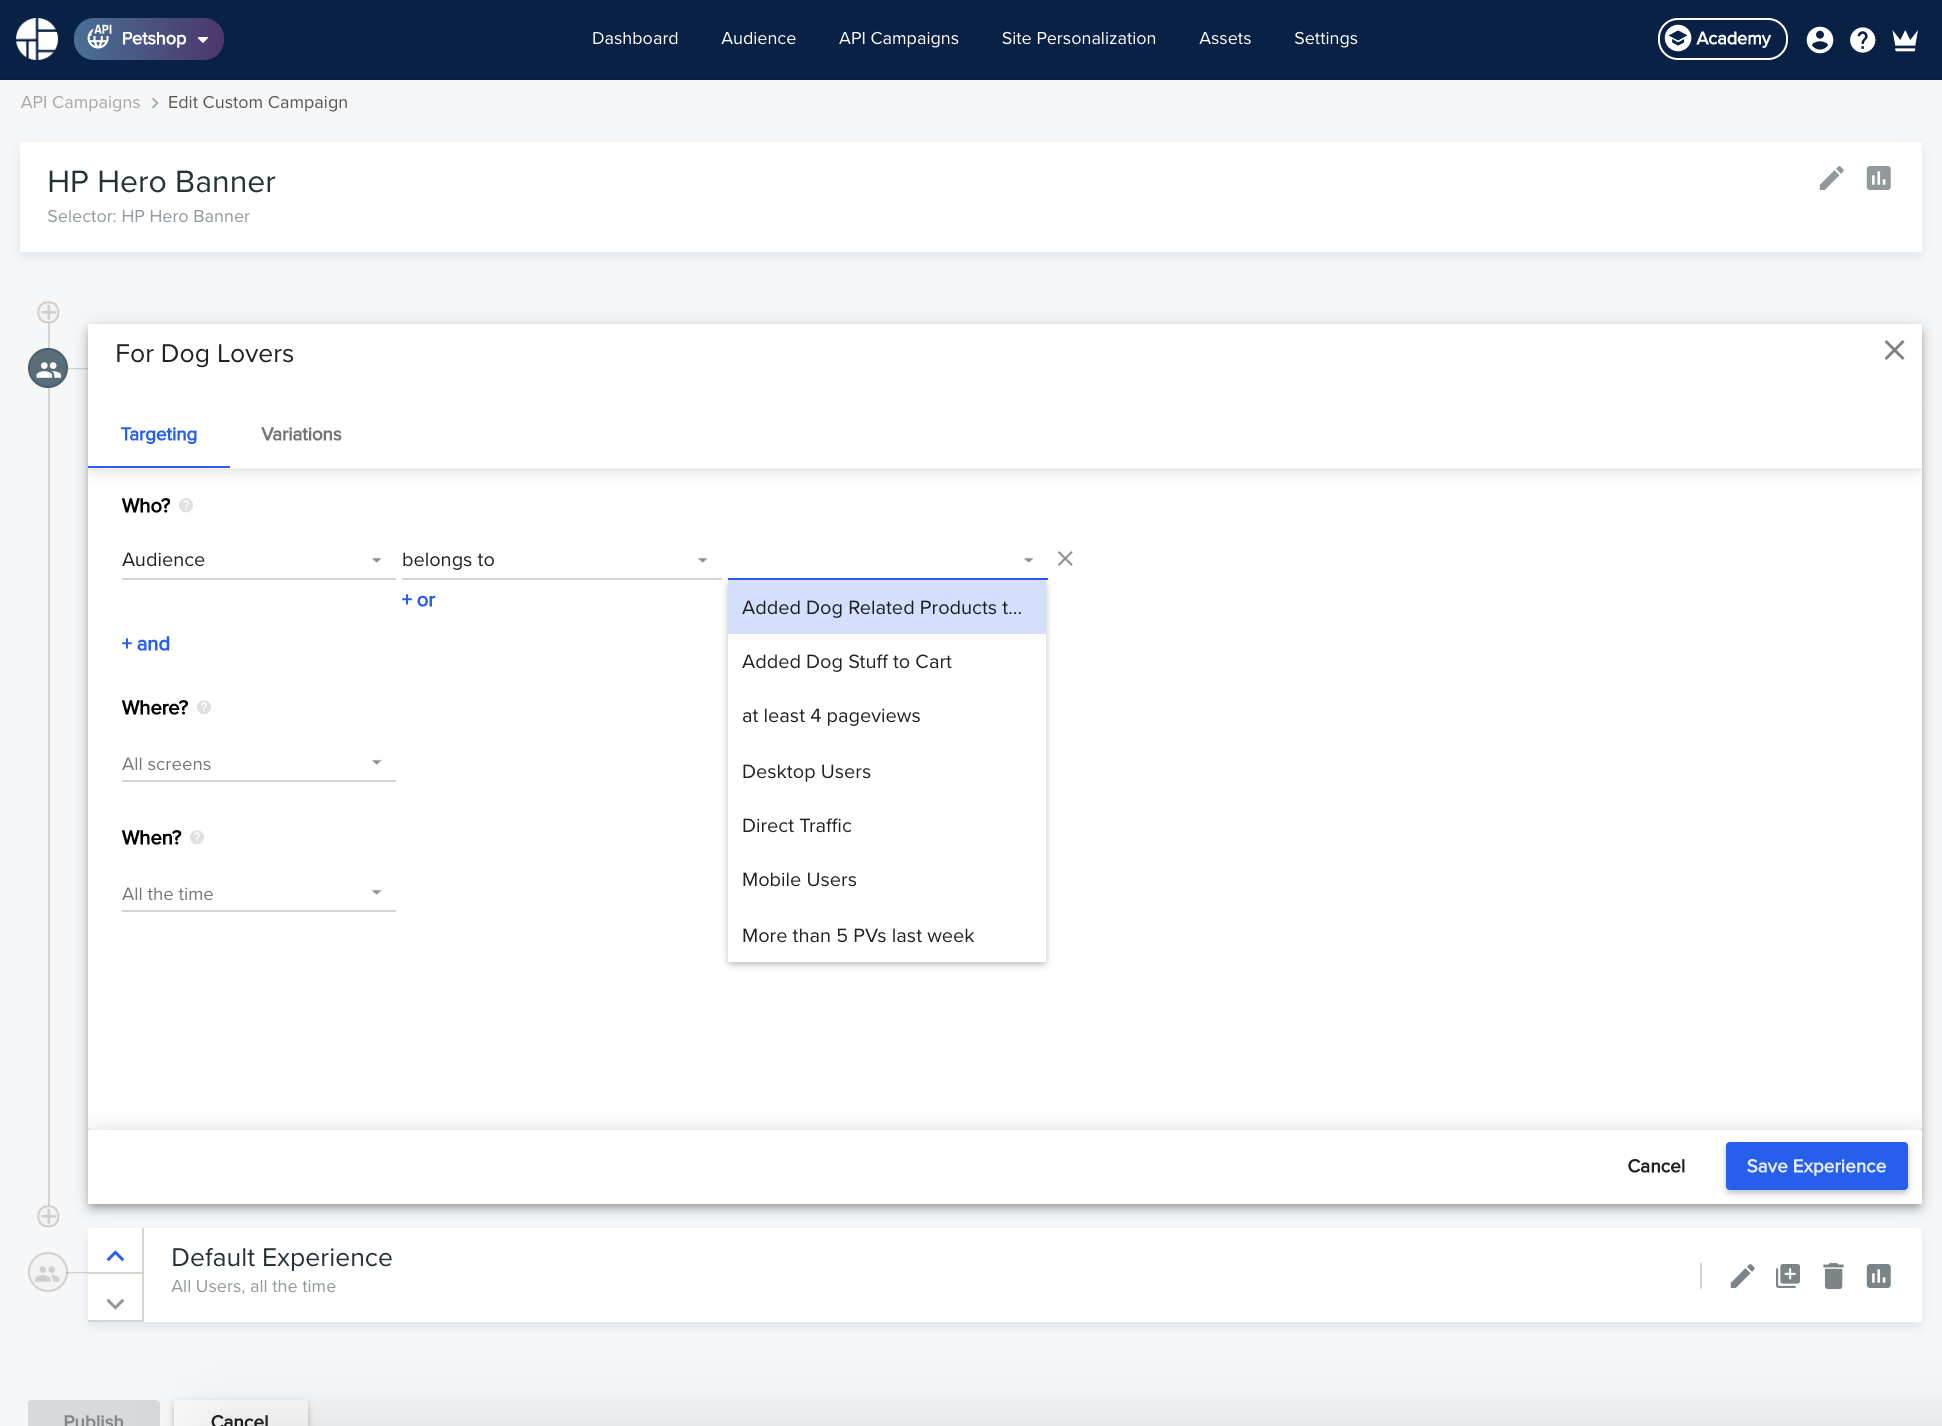
-
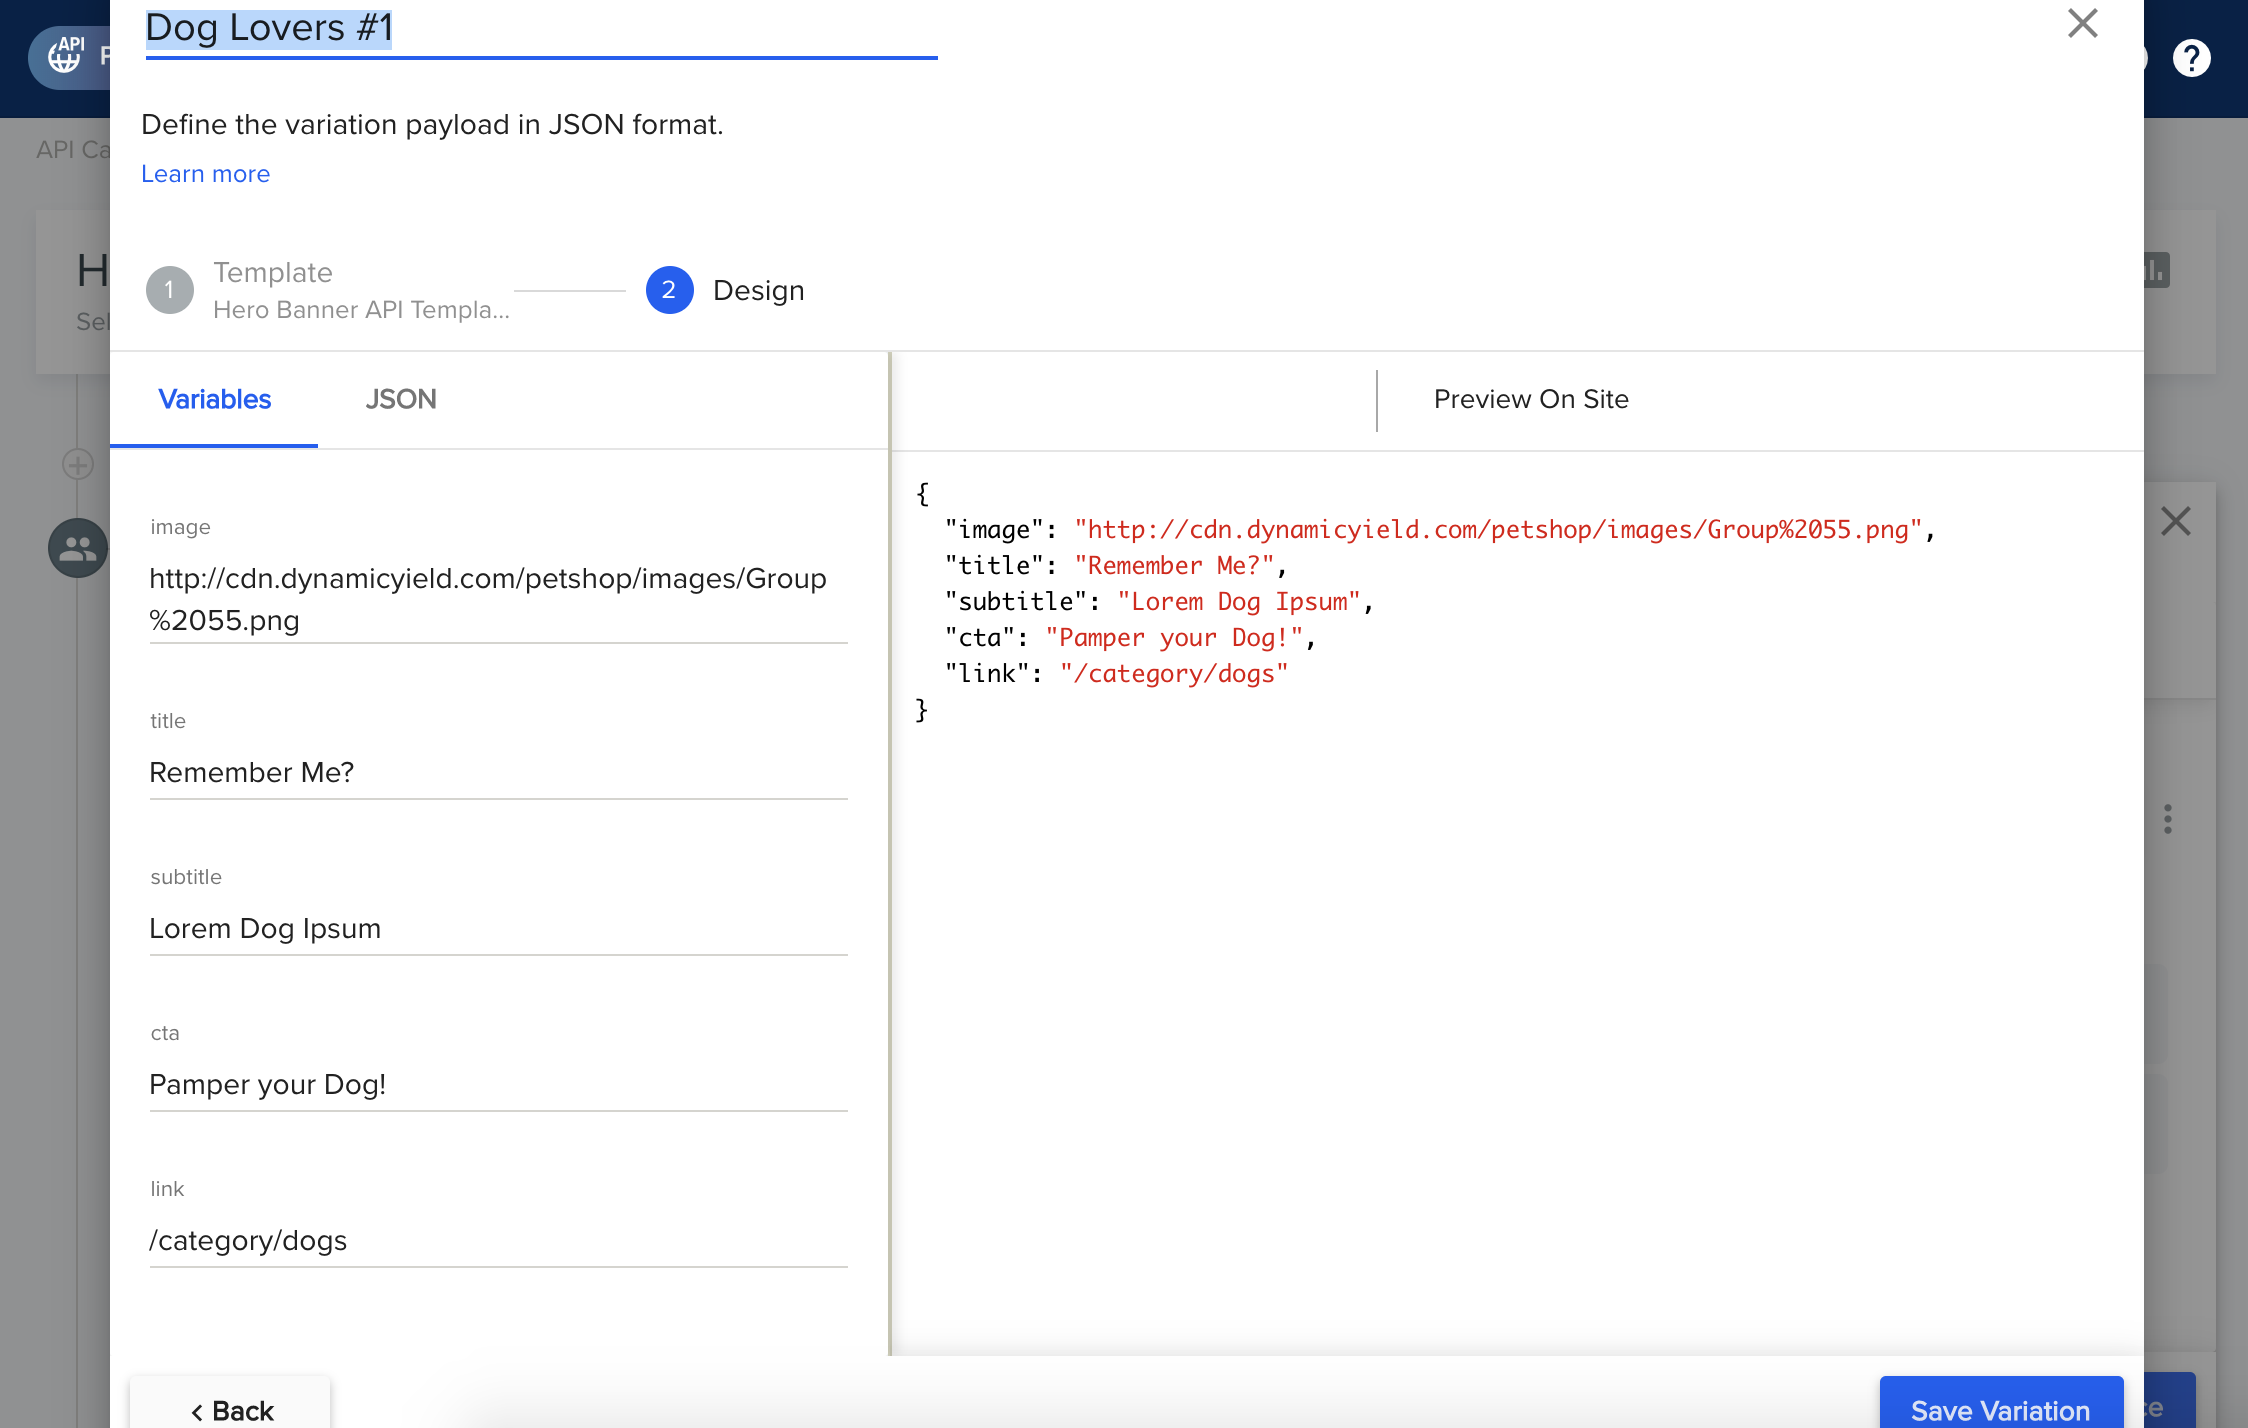
As a basis for a new variation, we can either add one from scratch (using the template) or copy one of the variations in the default experience.
Personally, I've copied the baseline variation - but edited it to have dog-only messaging and a dog-only image, unlike the images used in the default experience, which try to appeal to the general crowd by having both cats & dogs.
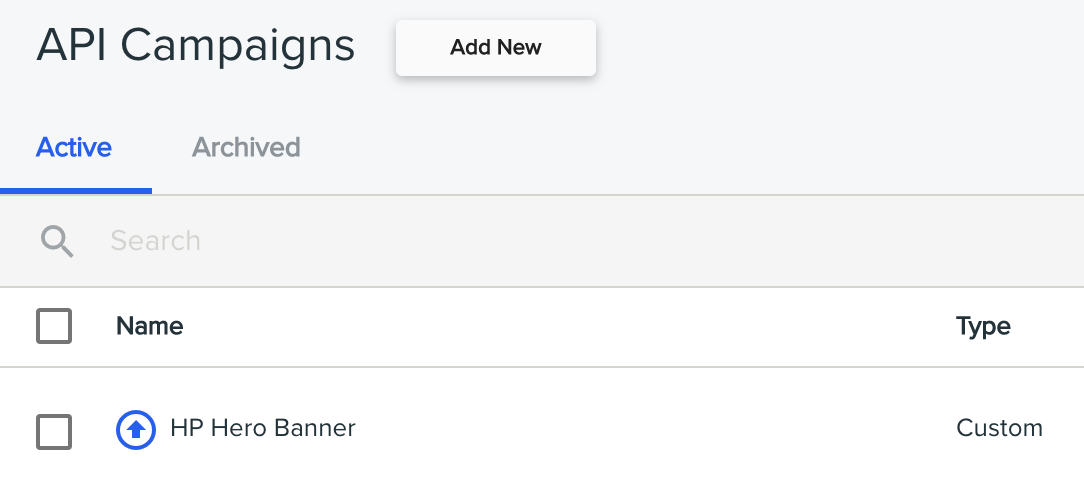
- Save & publish the campaign, which takes you back to the list of API Campaigns. Before proceeding, wait until the blinking up arrow icon turns into solid blue. This signals that all changes are live.
To test our changes, I suggest that you use Incognito Mode to simulate a few different users. Try adding cat-related products to cart and then going back to the homepage to see whether the banner has changed. Only adding dog-related merchandise should lead to the new cat-free banner being shown.
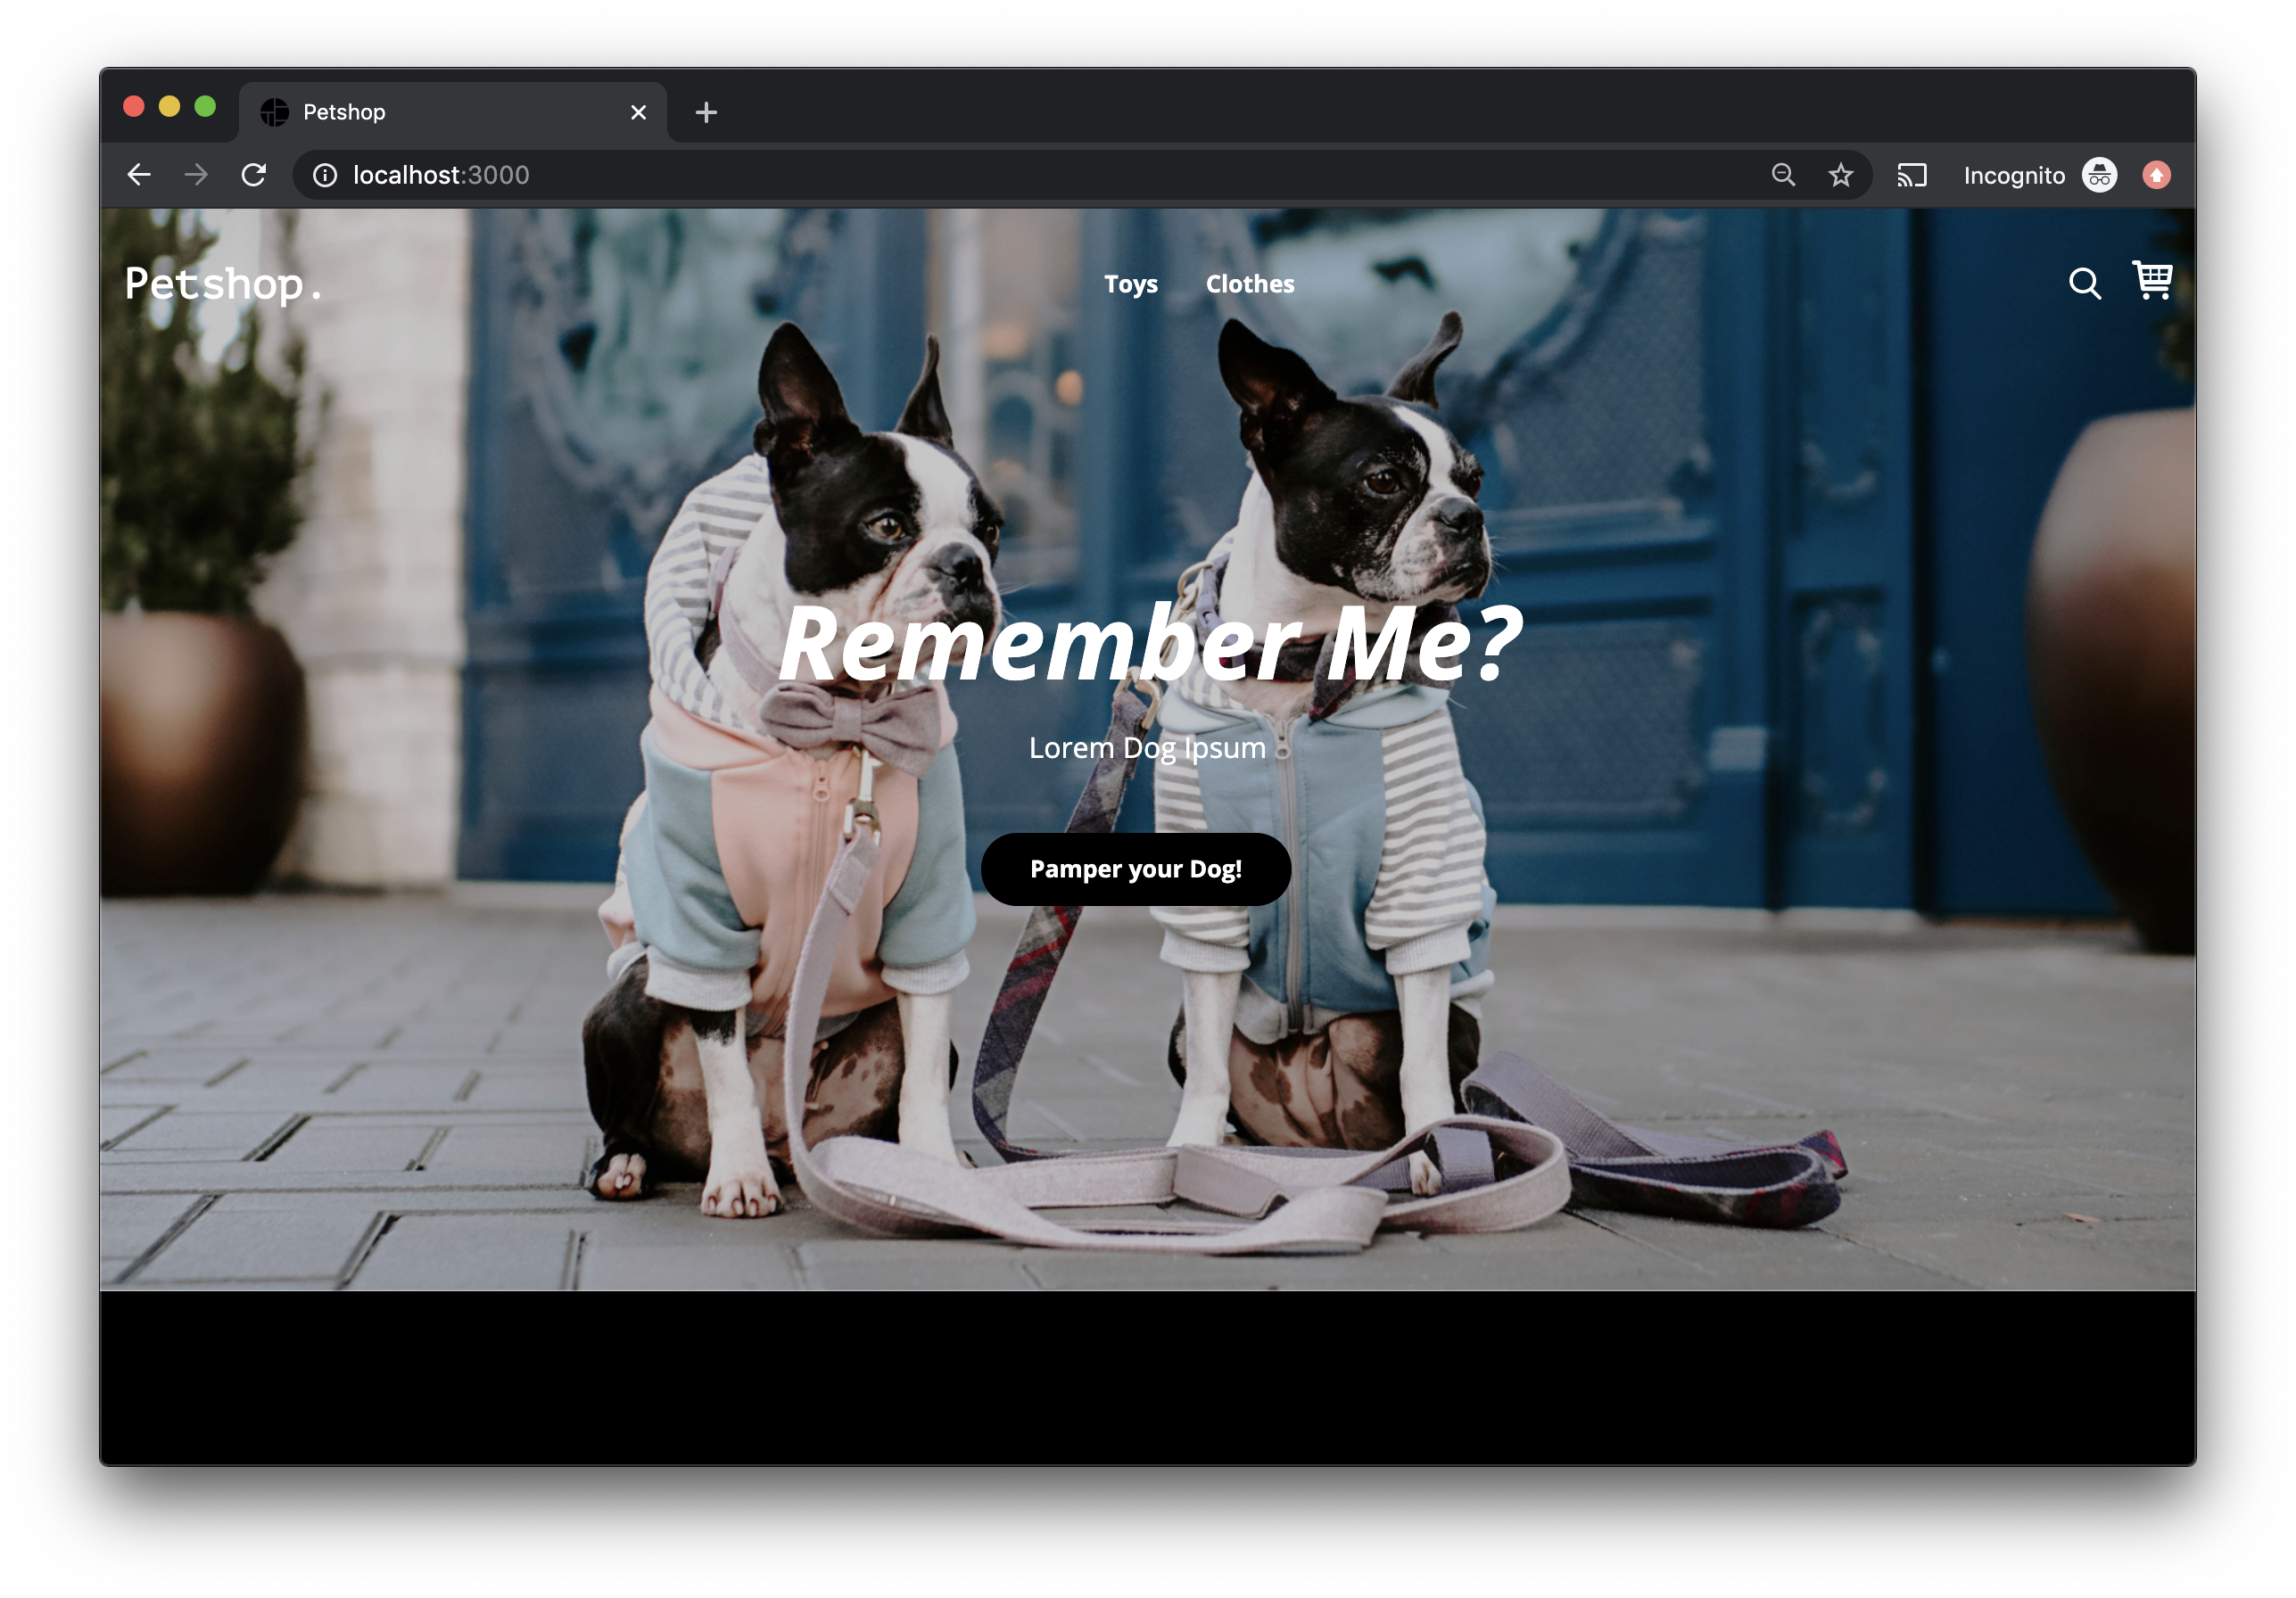
Note: With Chrome's Incognito mode, multiple windows or tabs opened at the same time share the same cookies. To simulate a new user, make sure all previous Incognito windows are closed before opening a new one.
Notice that we didn't need to make any code changes in this step, which is exactly the point of using Dynamic Yield!
Ad-Hoc Targeting
Fortunately, not all targeting requires creating an audience in advance. Far from it.
To target based on anything that happened during the current user session, you simply add targeting conditions directly at the campaign experience level.
Proper audiences are typically needed only for targeting returning users by their behavior, and for other advanced uses such as targeting by first-party customer data.
The most freestyle form of targeting? you can target based on any custom key-value attribute which you've passed in code as part of the request to choose. It can be a proprietary attribute of the current page, attributes of the current user or anything really.
Let's try that.
Going back to the app.js module, you'll see that we've already added a small nugget for you, in the piece of code that prepares the context object. Look for how the pageAttributes property is set: this will make the URL parameters of any visited page to be sent as custom attributes, as part of the context going into choose.
/** add dyContext */
app.use((req, _res, next) => {
  req.dyContext = {
    page: {
      location: `${req.protocol}://${req.hostname}${req.originalUrl}`,
      referrer: req.headers.referer || '',
      data: [],
    },
    device: {
      userAgent: req.headers['user-agent'] || '',
      ip: req.ip,
    },
    pageAttributes: req.query, /* <== LOOKIE HERE */
  };
  next();
});
Note: In any real-life production scenario, you should sanitize any attributes originating from the client.
Using this little piece of plumbing, the user of the Dynamic Yield Web UI can now freely target experiences on any URL parameter, with no further code changes.
As an example: you can now target dog lovers coming from some fictional ad campaign, based on the "campaign" URL parameter. Here's how the targeting looks like:
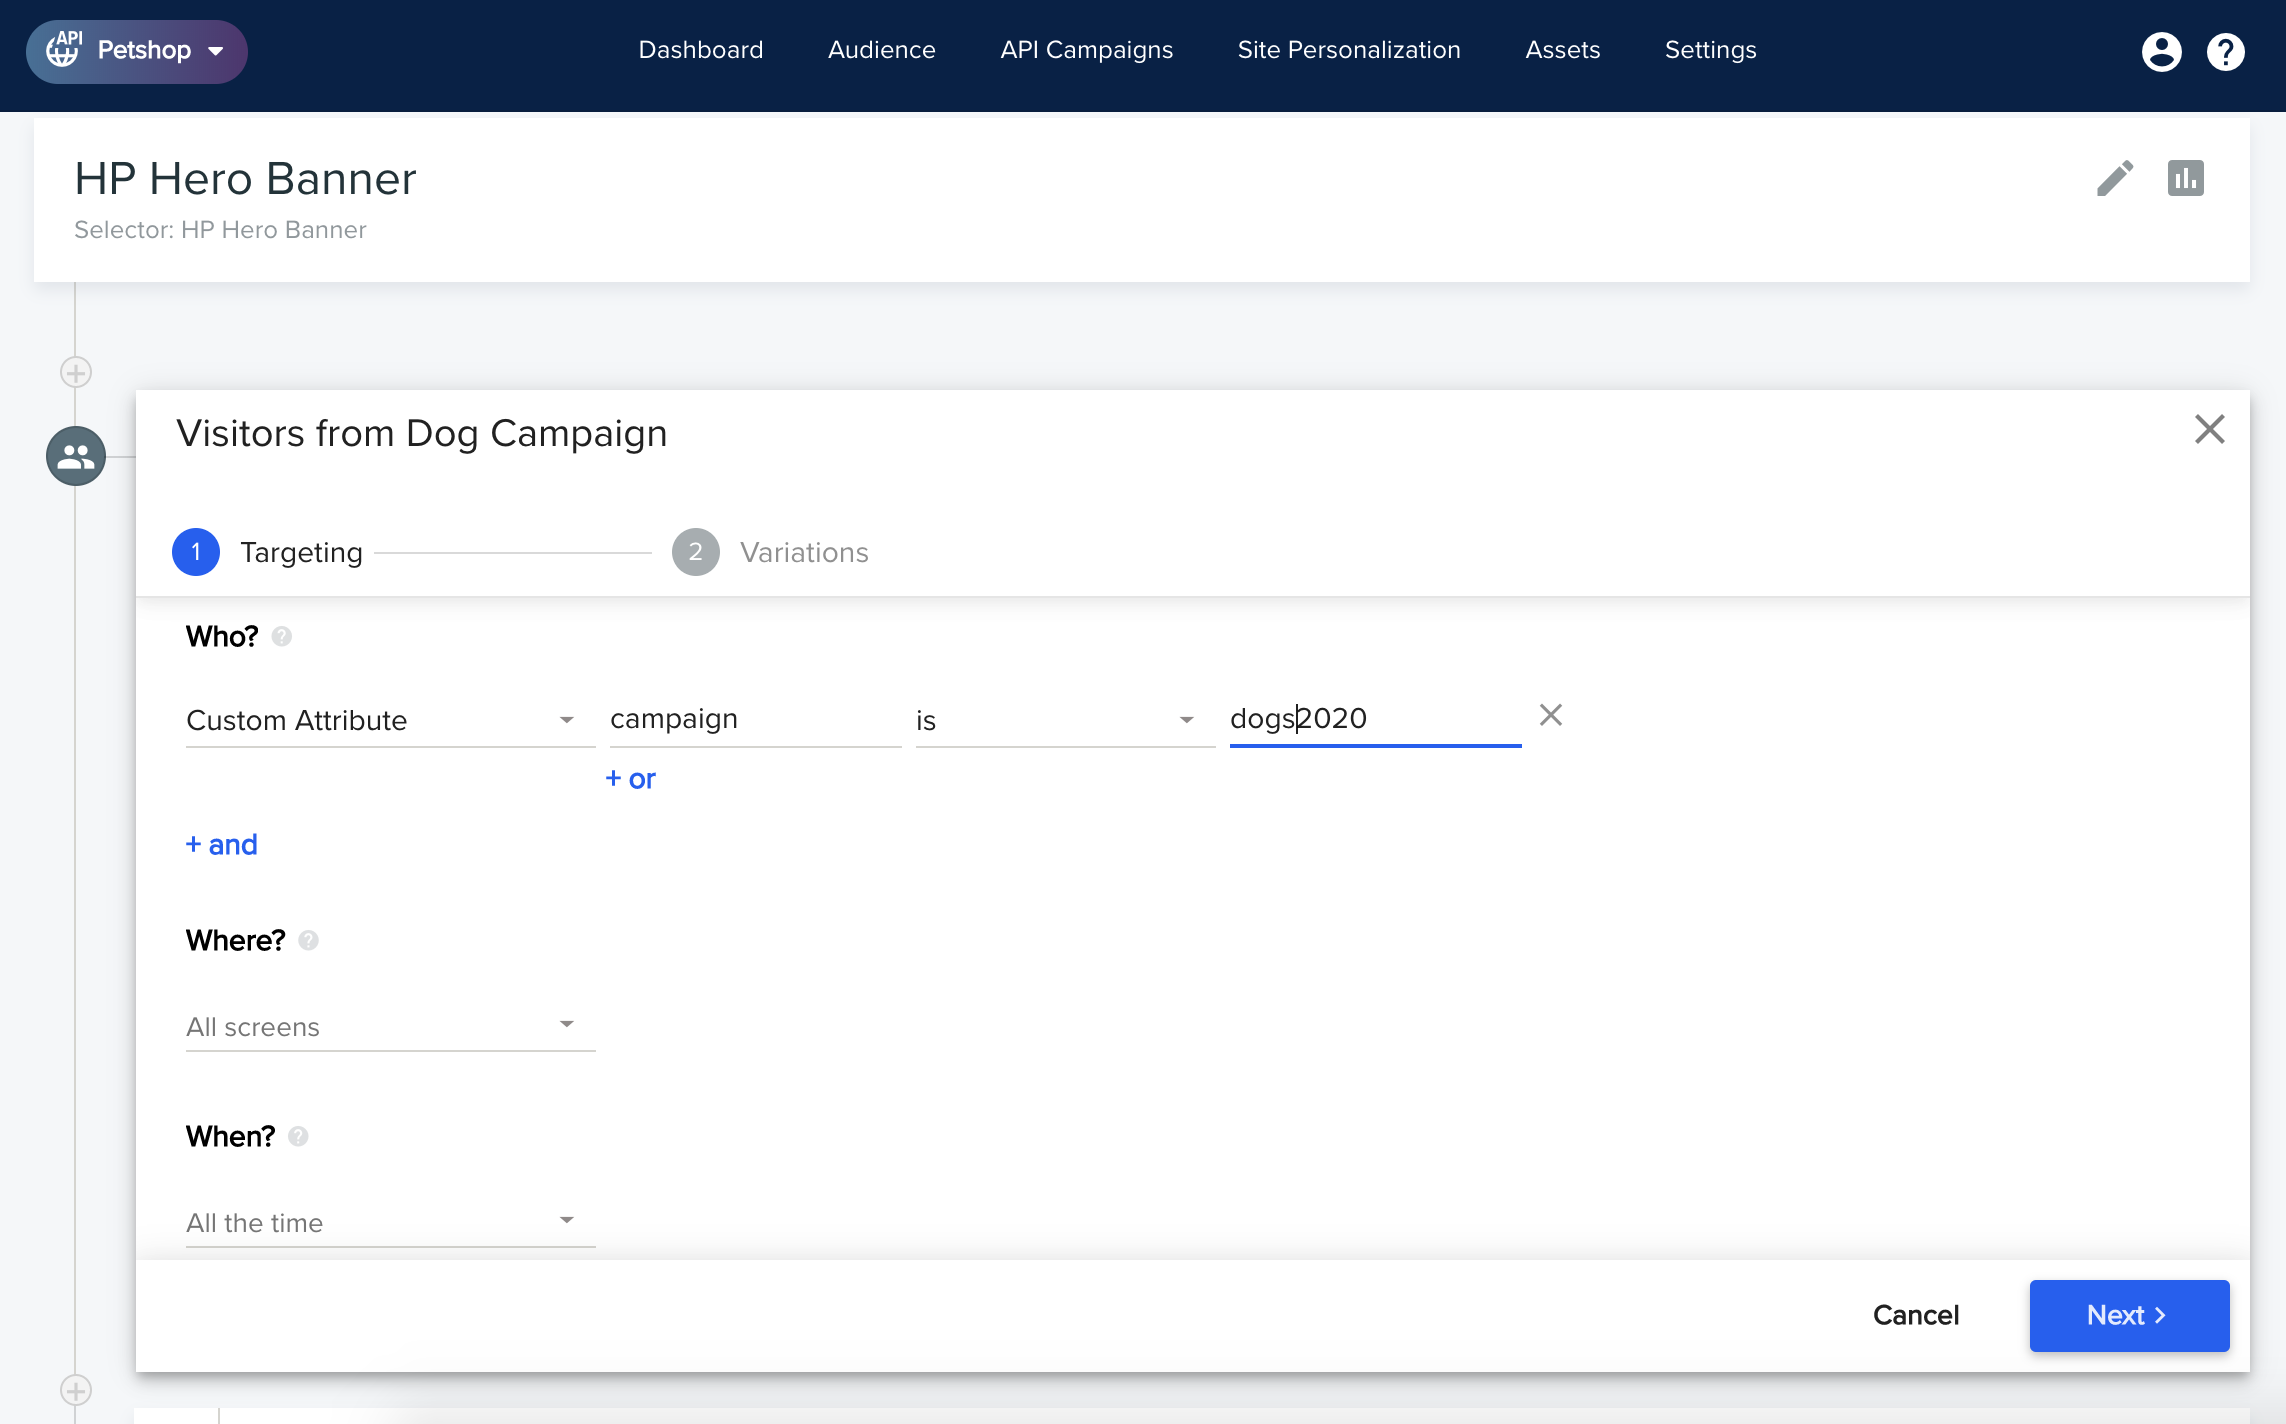
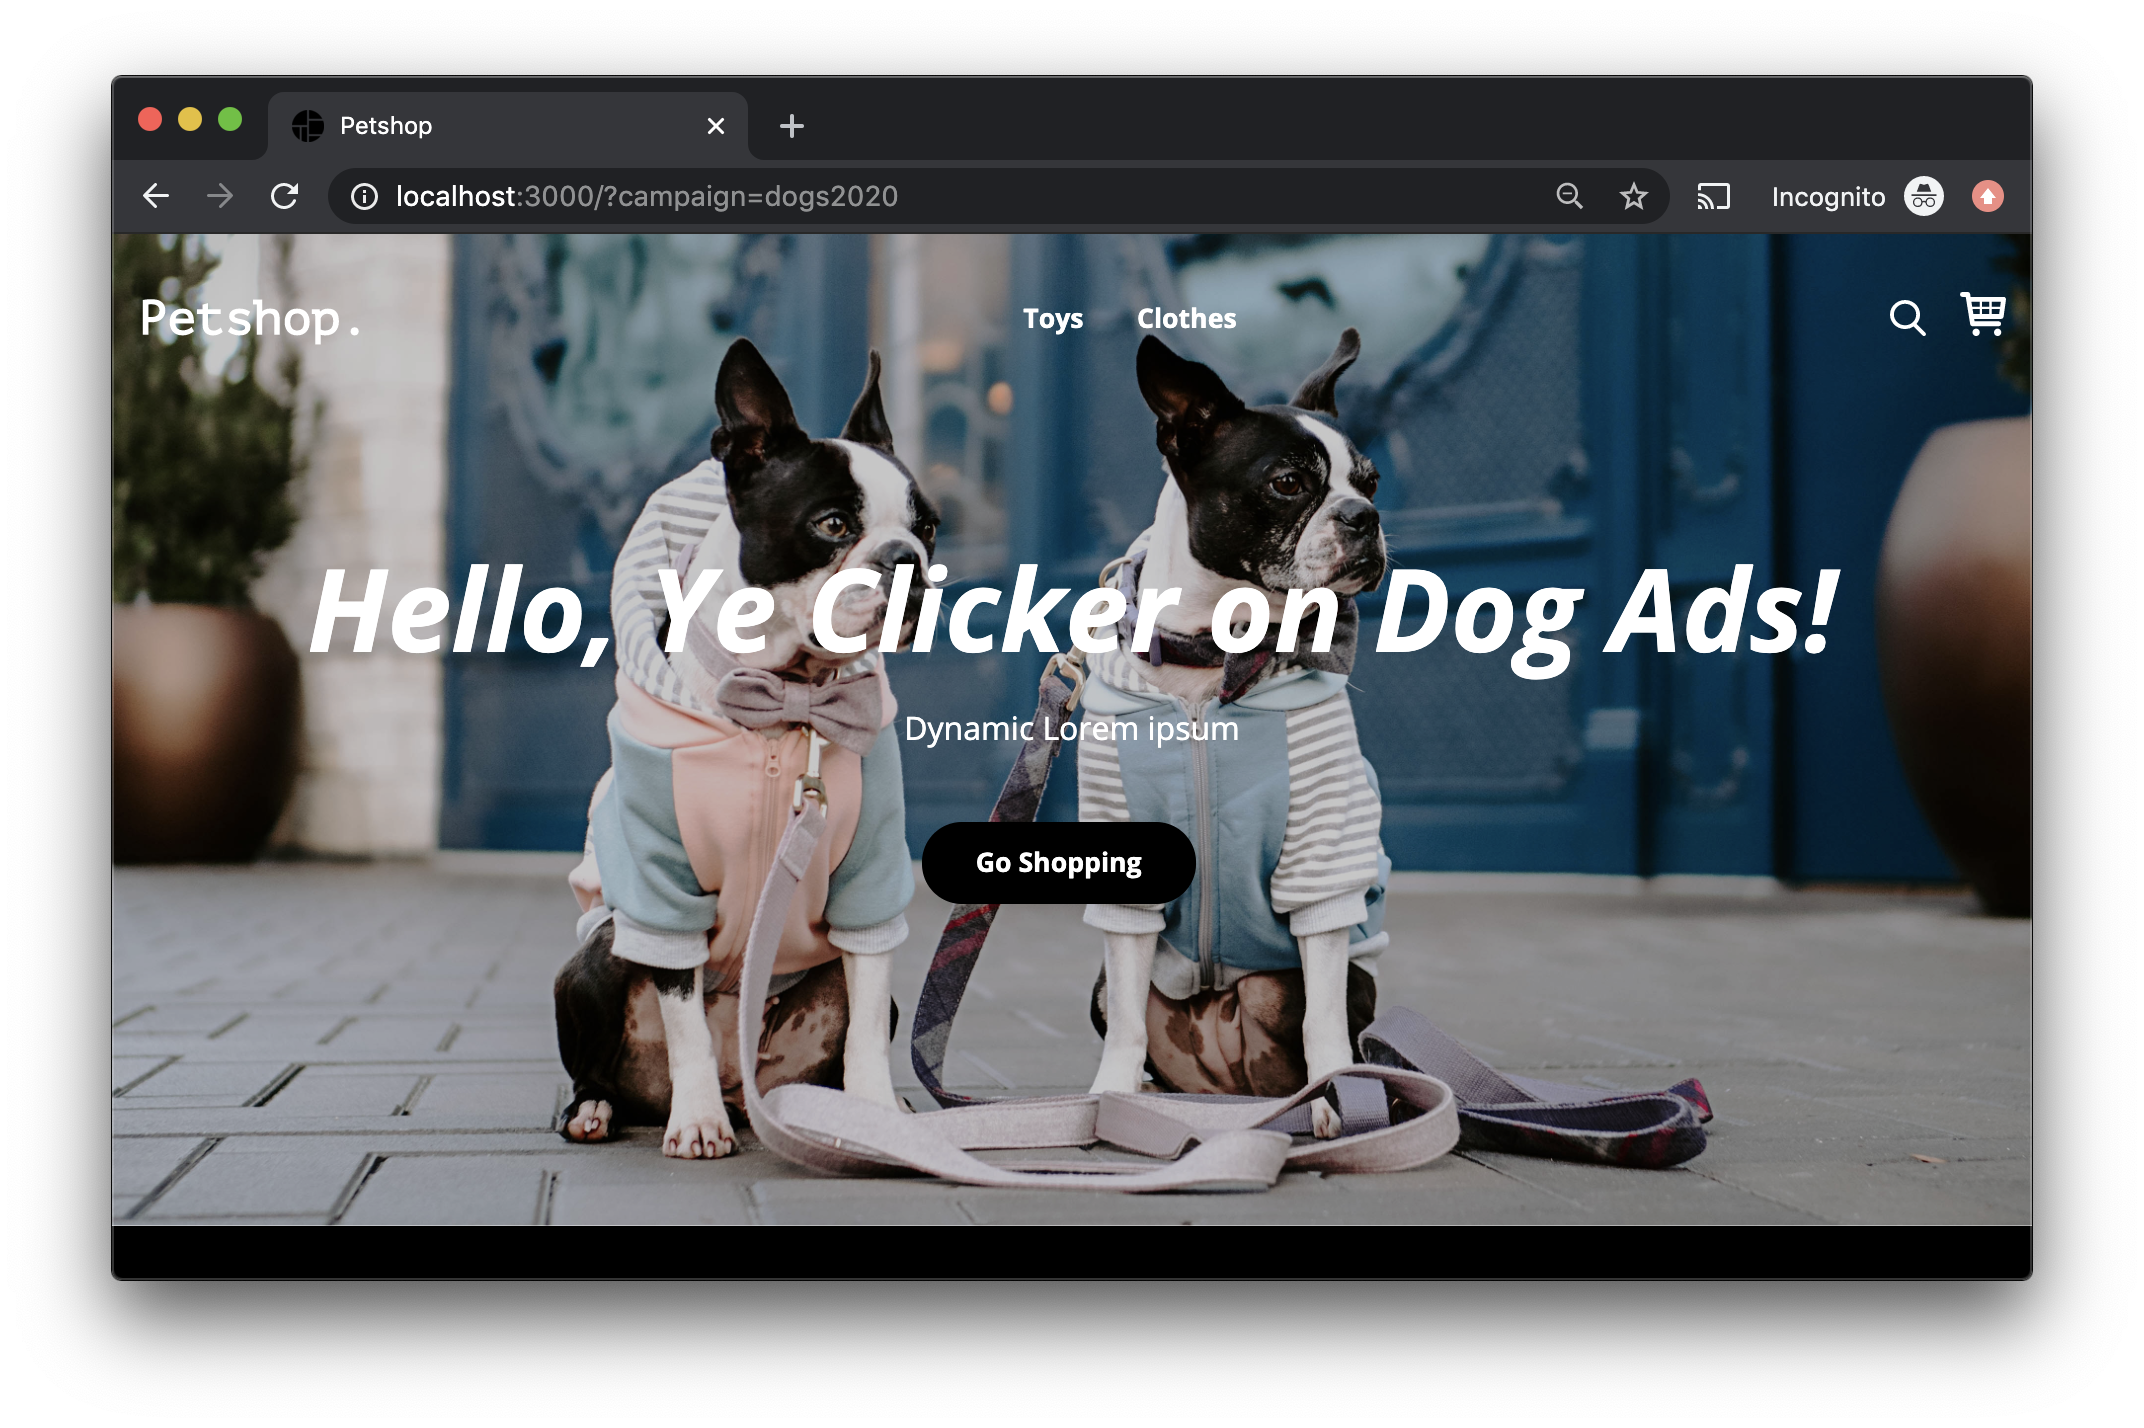
To see it in action, add a targeted experience as you see above, add a variation, and then hit the Petshop homepage with this URL parameter added. Here's how my version looks like - I duplicated the dog-only variation and just changed the wording a bit:
Now that we're all targeting experts, let's wrap up this tutorial with the basics of adding recommendations to your site, plus some bonus tasks for you to explore.
Updated 23 days ago