Creating an API Site & Key
Creating a Site in your Dynamic Yield Account
Preface: What's in a Site?In Dynamic Yield, a customer account typically holds a few Site entities - each representing a specific website or app. Each Site has its own settings and campaigns, and collected data is always stored in the context of a specific Site entity. It's standard practice to use separate sites for staging and production, and for different web properties your company may own.
In the case of a multi-locale website (e.g. .com, .co.uk, .de, .jp, etc.), some of our customers prefer to centrally manage all through a single Site, while others wish to separate these into separate concerns. Typically, this depends on how your business teams are structured.
When in doubt, contact your Customer Success Manager and we'll walk you through all relevant considerations.
Creating a Site for API Campaigns
You may already have been given a dedicated "sandbox" site by the administrator of your organization's Dynamic Yield account, for freely hacking with the API.
If not, let's create one now. Note that this requires admin permissions, so you may need to ask a colleague to perform these actions.
-
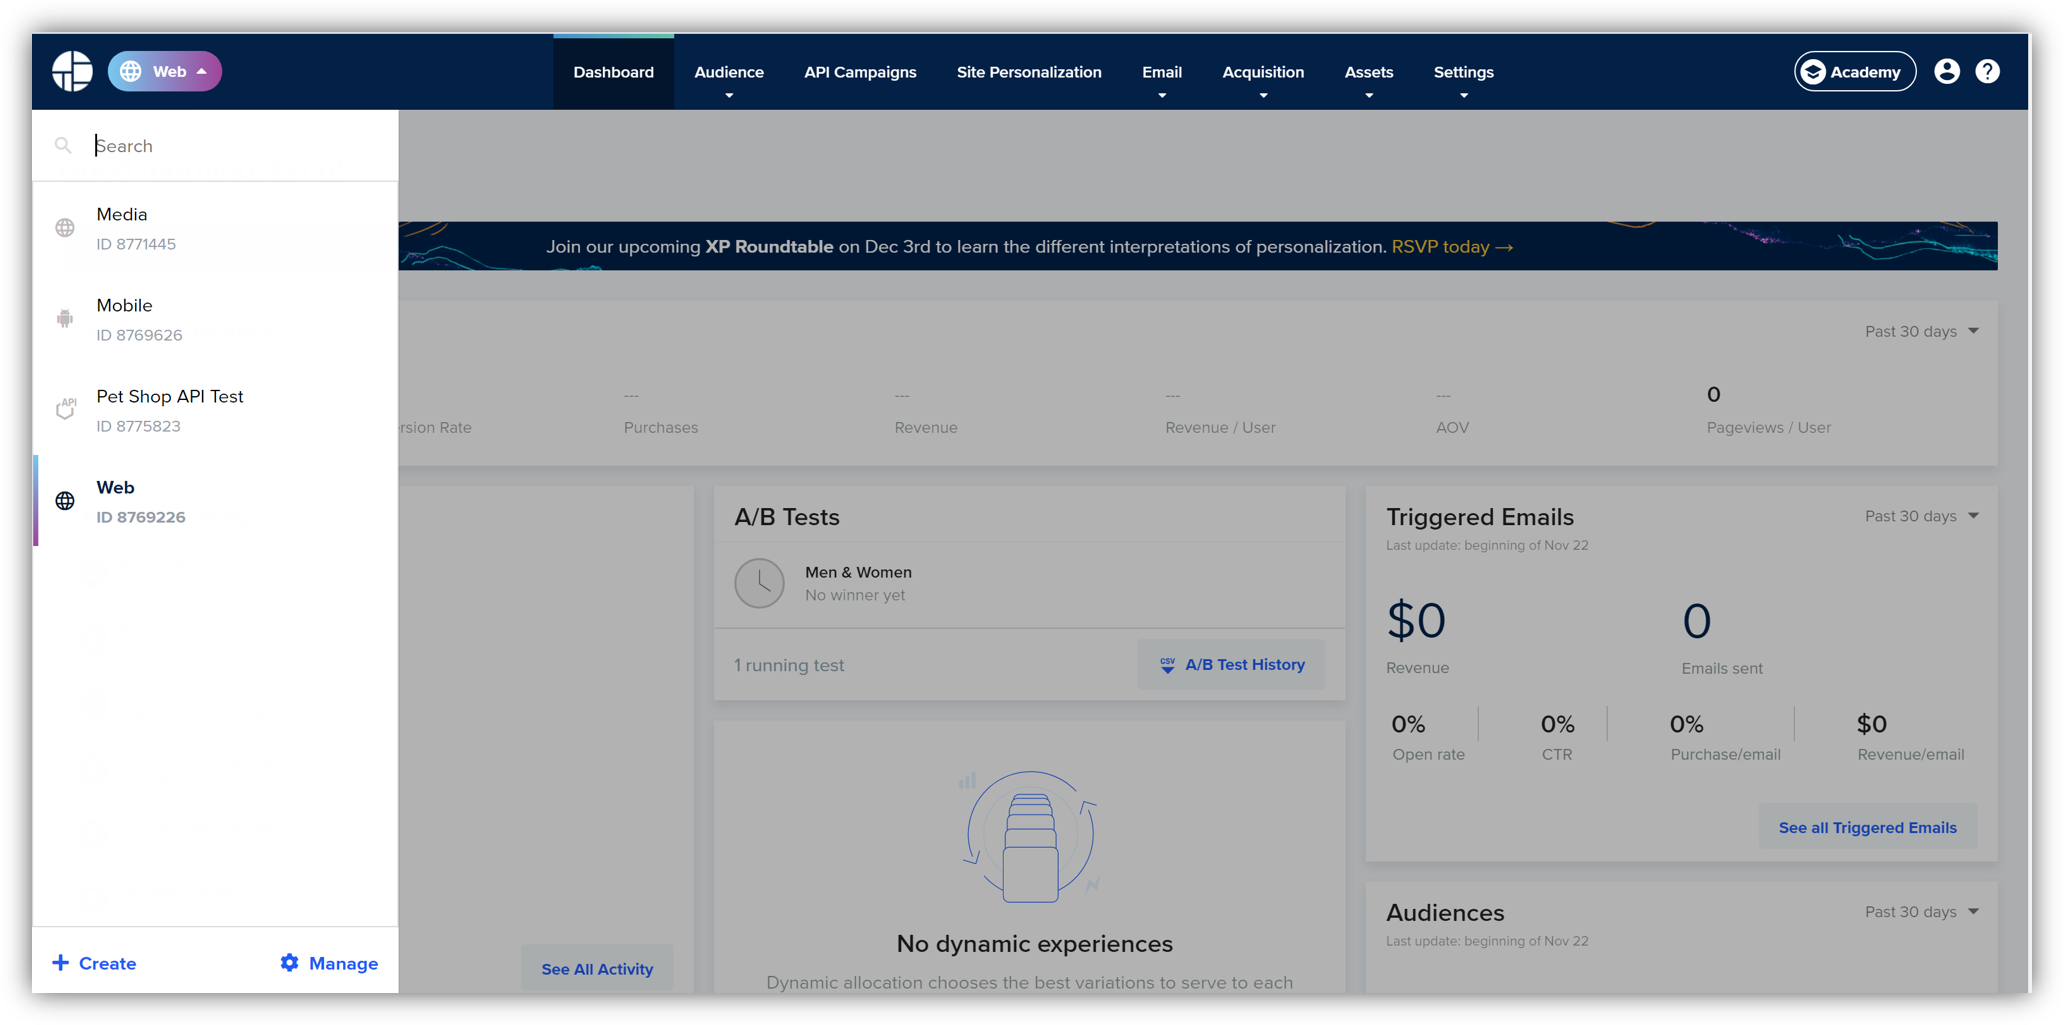
At the top-left corner of the Admin UI, you'll find a prominent round button for switching and managing sites. Click to open the list of existing sites, and then click on the + Create button at the bottom of the list.

Let's fill out the form: -
Give our new site a name.
-
Be sure to select API.
-
As the Vertical, select eCommerce. This affects the layout of our Web UI dashboard, the KPIs displayed, and tunes some other features. Since the Petshop is an e-commerce website, this option is a good match for our needs.
-
As for Localization options, you're free to select whatever currency and time zone spark your imagination (or just leave it as is).
-
Click on CREATE, and in a minute you'll be transported to the dashboard for your brand new site!
Now, let's create the API key that we'll pass along with all API requests.Creating an API Key -
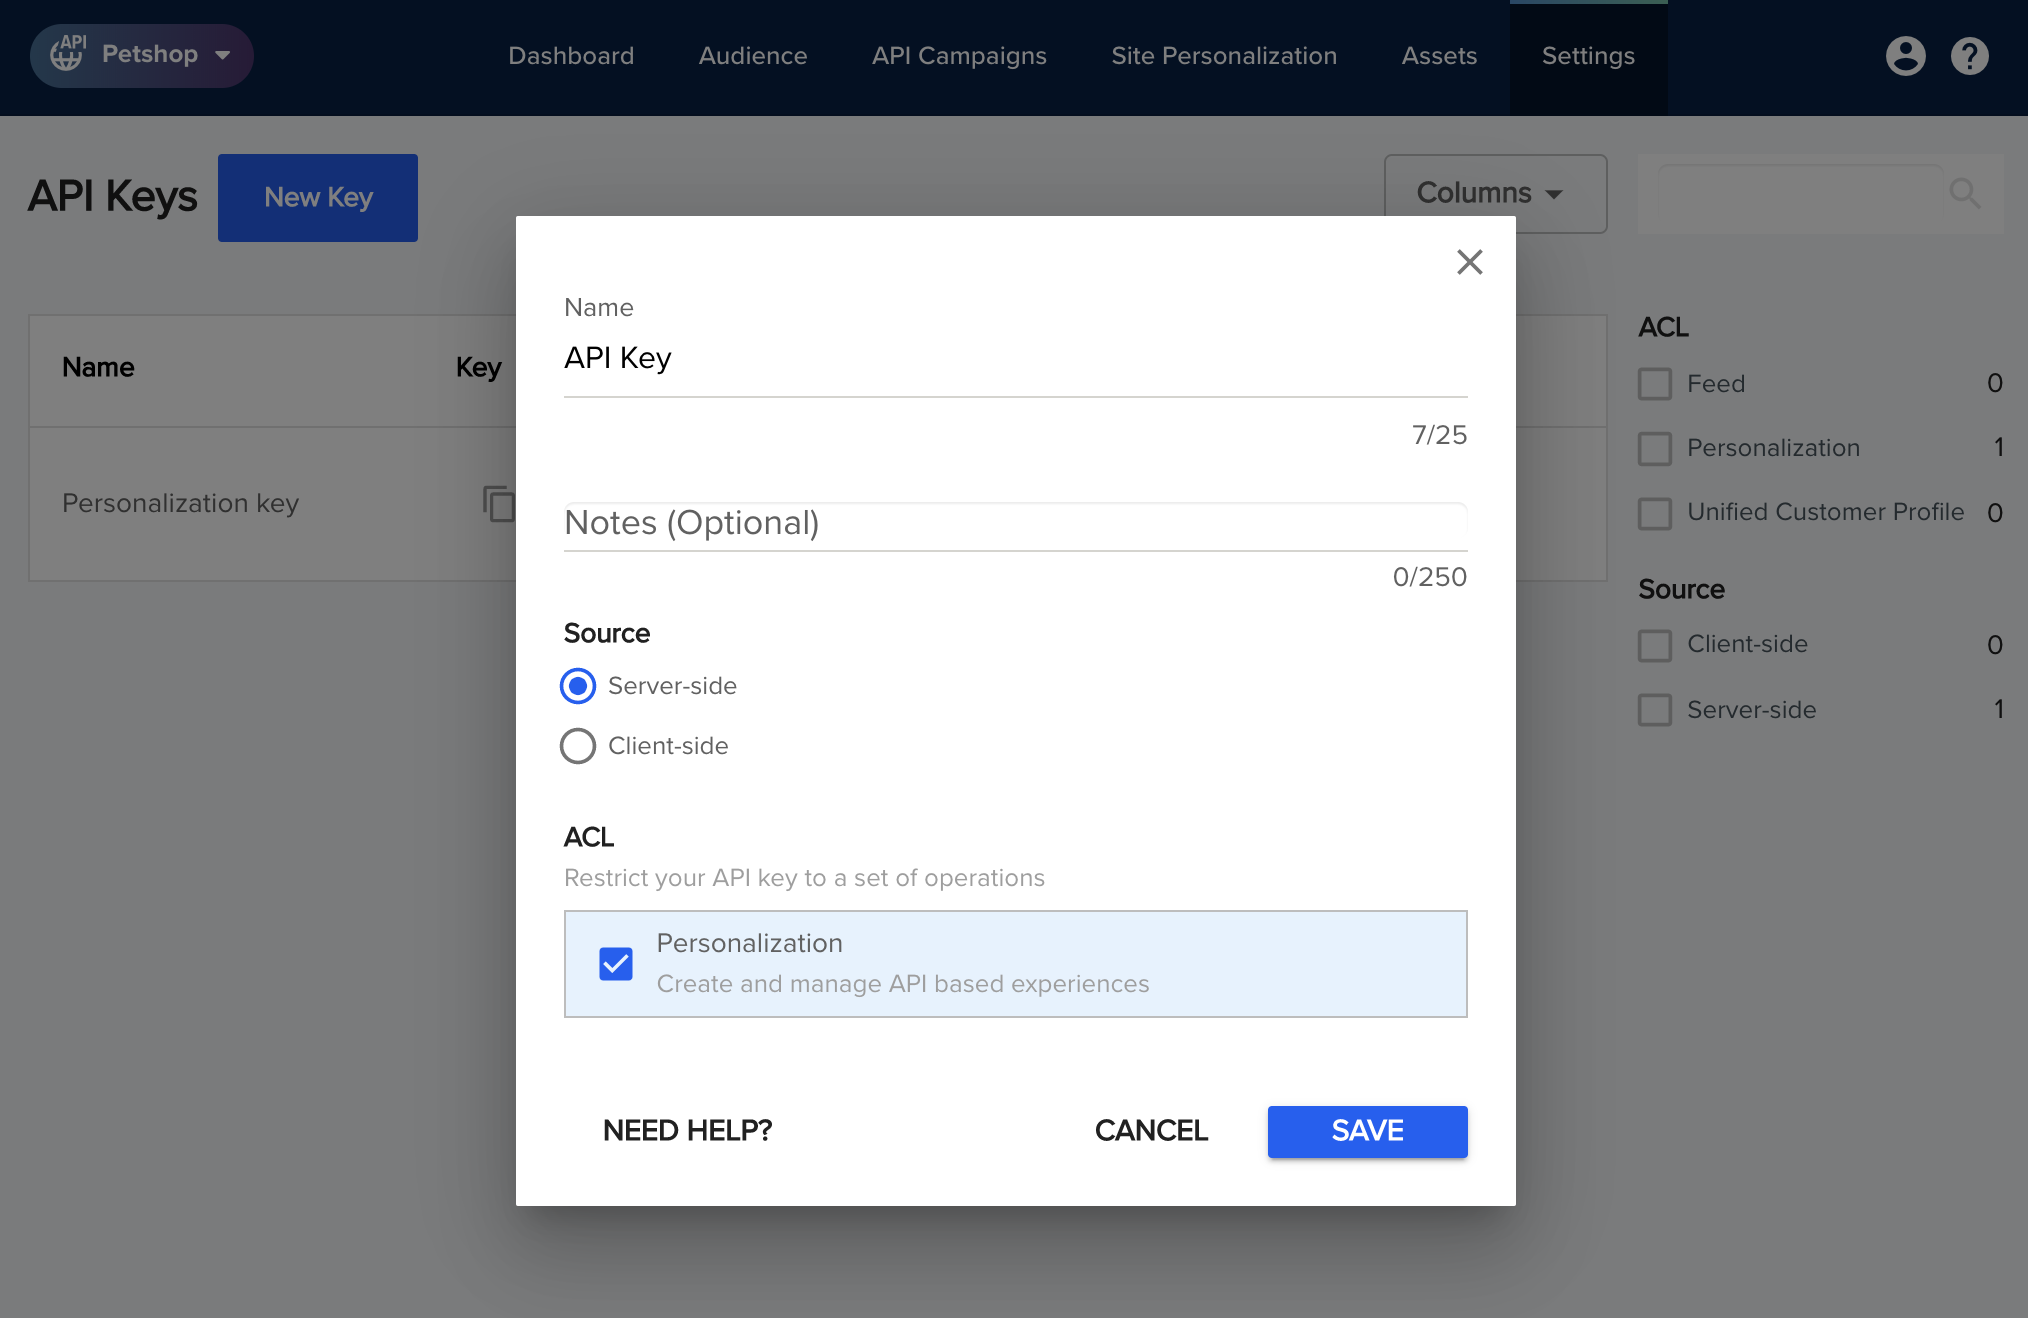
In the top navigation bar, select Settings > API Keys, and click on New Key.
Since we need only one key, you can keep the default name.

-
Under Source, keep the default option of Server-side, as we will only use this key from the server.
-
For the ACL, select Personalization (additional capabilities may appear on this list, based on optional features purchased and participation in beta programs).
-
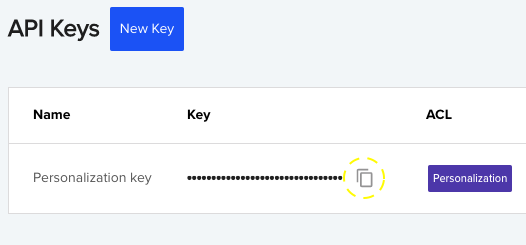
After the key is created, you can copy it to the clipboard using the copy icon next to the key:

For more on the different options for authentication see Creating API Keys.
We strongly suggest following best practices for handling keys: never storing them in source control, instead deploying them in production through well-known tools for secrets management (e.g Vault, AWS Secrets Manager, etc.).
Adding the Key to your Petshop Application
We're now ready for our first code change!
In the base directory of the application (directly under before/), create a new file named DYAPI.js. We will gradually add helper functions in this file for all communication with the API. For now, let's add just the API key and the API host name - depending on whether your account is hosted in our US or EU data center (see Basic Concepts).
The file contents should look similar to this:
const APIKEY = '16fbe18b328cab3.....';
const DYHOST = 'https://dy-api.com'; // or '.eu' for EU data center
Alright, now let's lay the groundwork for our first campaign and all the following ones, by preparing the context object.
Updated 22 days ago