Running Your Own Petshop
Downloading and Running the Code
As the first step before any hacking, let’s get you up and running with a local instance of the Petshop.
Prerequisites
The Petshop is implemented as a lightweight Node.js application hosted on Github. Please make sure that the node and npm commands are available on your machine.
Aside from that, you only need a decent code editor of your choice, such as the excellent and free Visual Studio Code.
Downloading the Code and Dependencies
Assuming you have Git installed, it’s easiest to download the application and all needed packages from your terminal window. You can also download the repository as a Zip file from GitHub.
git clone https://github.com/DynamicYield/api-tutorial-petshop.git
cd api-tutorial-petshop
cd before
npm install
At the top level of the repository, you will find two directories:
beforeincludes a clean version of the website, before integrating any Dynamic Yield code. This is the version you will use throughout the tutorial.aftercontains the website as it will be at end of tutorial, with all steps executed already. If you just want to see how the end results looks like, you can run that revision.
Running the Server
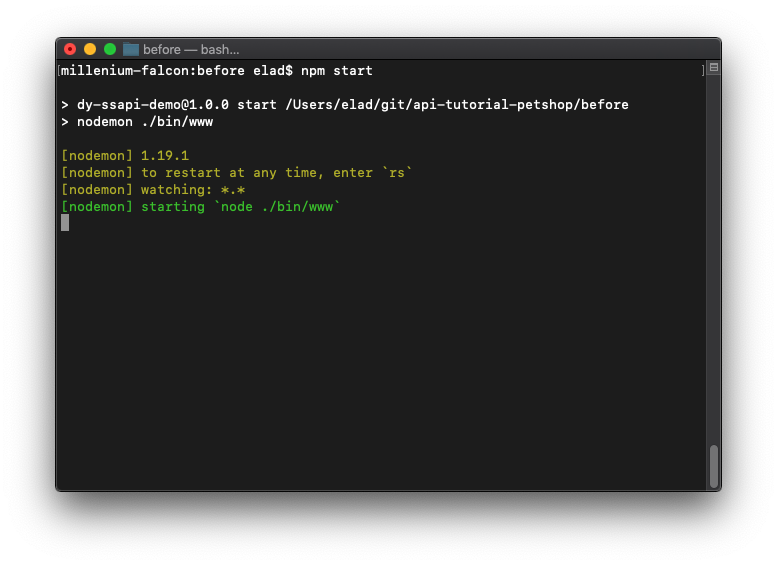
Start the server with the npm start command. The output should look similar to this:

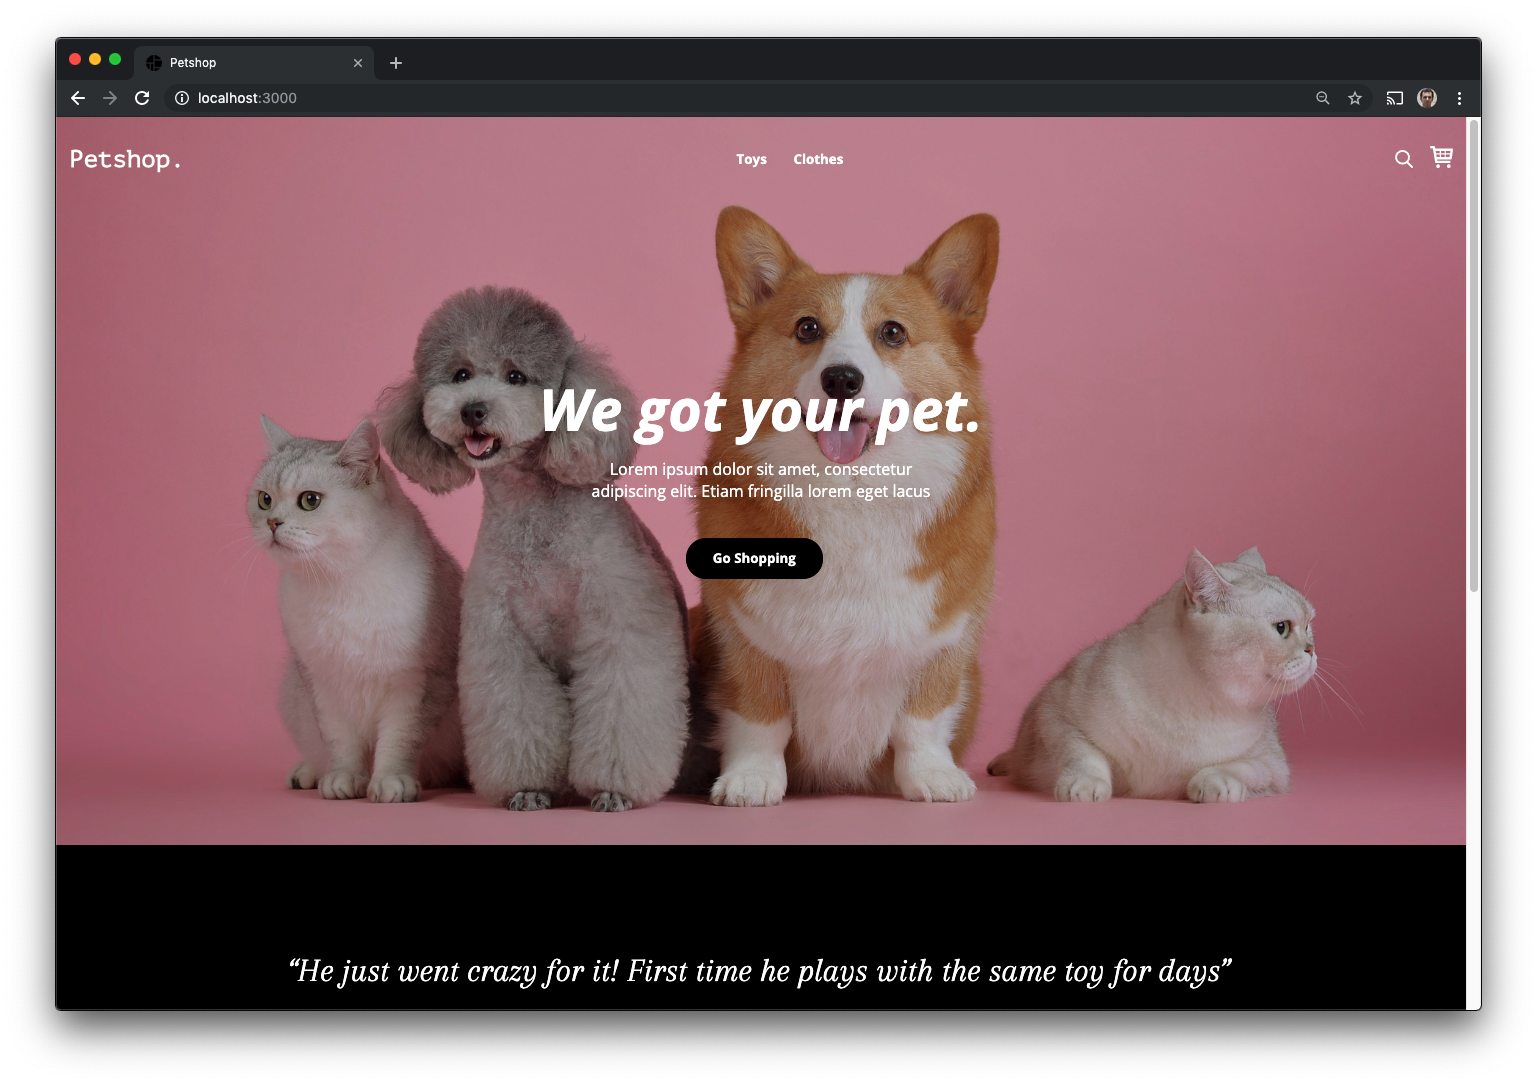
Now, open your favorite browser and navigate to http://localhost:3000, and you'll get the homepage of our little Petshop.

The server is listening to code changes!There is no need to restart the server after each code change that you make, as your development server is listening to any changes in code and will automatically reload what's needed.
Getting Familiar with the Code
Before we start making changes, let's take a few minutes to review the structure of the application.
For this tutorial, we made a conscious choice not to use any hot framework of the day, and keep it pretty old school in order to concentrate on the needed code changes rather than the intricacies of a specific opinionated framework.
As a common way to run web servers with Node.js, we chose Express. All views are rendered on the server-side with pug.
app.js
This should be your entry point to diving into the code. This is where the Express app object is initialized and configured through the middleware pattern - note the usage of app.use(...) for adding middleware.
This code is all pretty standard stuff, but here's one thing that is worth your attention: as part of all calls to our API endpoint, we ask that you pass a userId and a sessionId. The userId should be a long-term identifier of the device, while the sessionId should designate a time-limited period of activity.
In this application, we went with pretty simple solution: the userId is stored as a cookie with a 1-year TTL (and you may want to extend its lifetime on each user visit). The sessionId is managed within a session cookie.
/** userId management */

app.use((req, res, next) => {
  let { userId } = req.cookies;
  if (!userId) {
    userId = uuidv4();
    res.cookie('userId', userId, { maxAge: 365 * 24 * 60 * 60 * 1000, httpOnly: true });
  }
  req.userId = userId;
  next();
});

/** session management */

app.use(cookieSession({
  name: 'session',
  secret: 'somesecretkeyhash',
}));

app.use((req, _res, next) => {
  if (req.session.isNew) { // cookieSession defines what is considered a new session
    req.session.sessionId = uuidv4();
  }
  req.sessionId = req.session.sessionId;
  // ...
  next();
});
Using Session CookiesUsing a session cookie for managing the lifetime of a session ID is pretty common and a reasonable choice, but note that the logic by which a browser determines whether a new session gets created is specific to the browser and device. Alternatively, you can decide to manage sessions yourself based on your needs, across platforms.
Routes and Views
The routes directory is where server-side handlers are located for each route in the application, such as /homepage, /category etc.
Templates are within views, rendered server-side with the pug.js engine. The layout.pug template is rendered as part of all pages in the application.
Within the public/javascripts/ directory, please also note the client-side Javascript modules which are included in all rendered pages.
The Product Feed
So, where are the silly products in this shop coming from?
Take a look at the file feed/products.json. It contains all details of the available products, and gets loaded by the Product model (models/product.js). We will later upload that very file into Dynamic Yield as the product feed to use, making it available for recommendations, targeting and many more features which rely on this data.
But, let's not worry about that just yet 😉. First, we should create a new Site entity via the Dynamic Yield Admin UI, and an API key for securely calling any API endpoints.
Updated 22 days ago